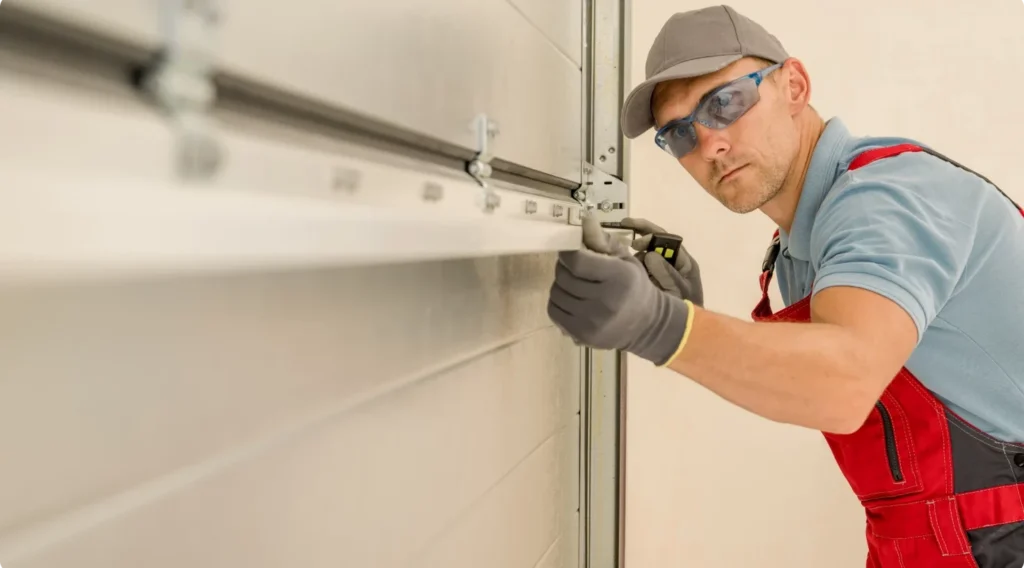
Converting a Garage Door Repair Lees Summit MO one can significantly enhance convenience and security. Manual garage doors require physical effort to open and close, whereas automatic garage doors operate with the press of a button, offering seamless functionality.
However, homeowners often wonder about the cost implications of such a conversion. In this guide, we’ll explore the factors influencing the cost of converting a manual garage door to an automatic one and provide valuable insights to help you make informed decisions.
Understanding Manual and Automatic Garage Doors
Before diving into costs, it’s essential to understand the differences between manual and automatic garage doors:
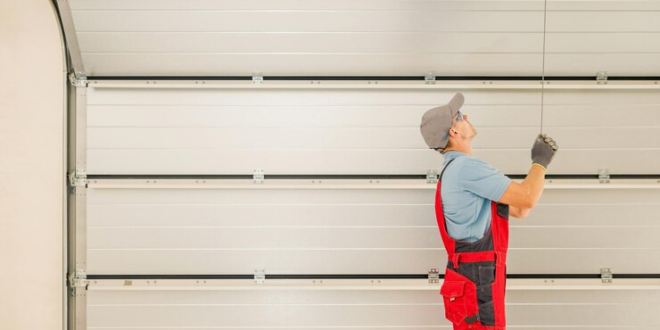
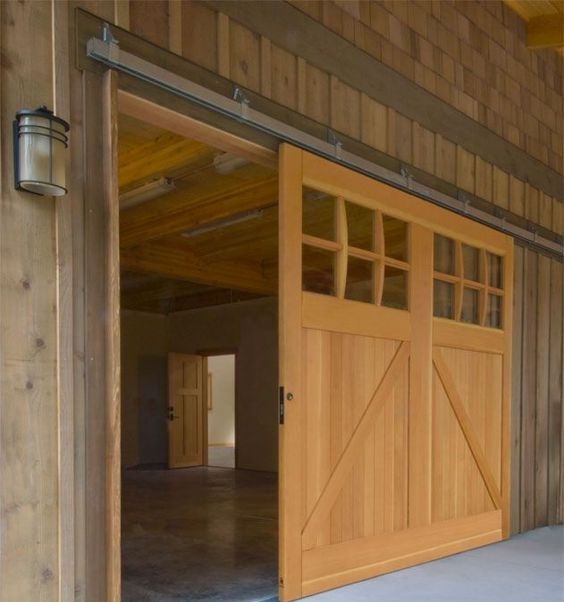
Manual Garage Doors
Manual garage doors operate through manual lifting and lowering mechanisms, typically using handles or pull ropes. They require physical effort from the user to open and close.
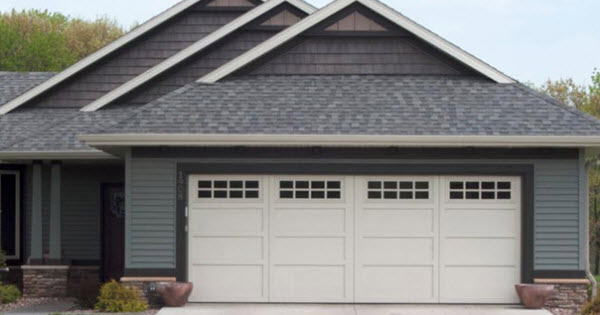
Automatic Garage Doors
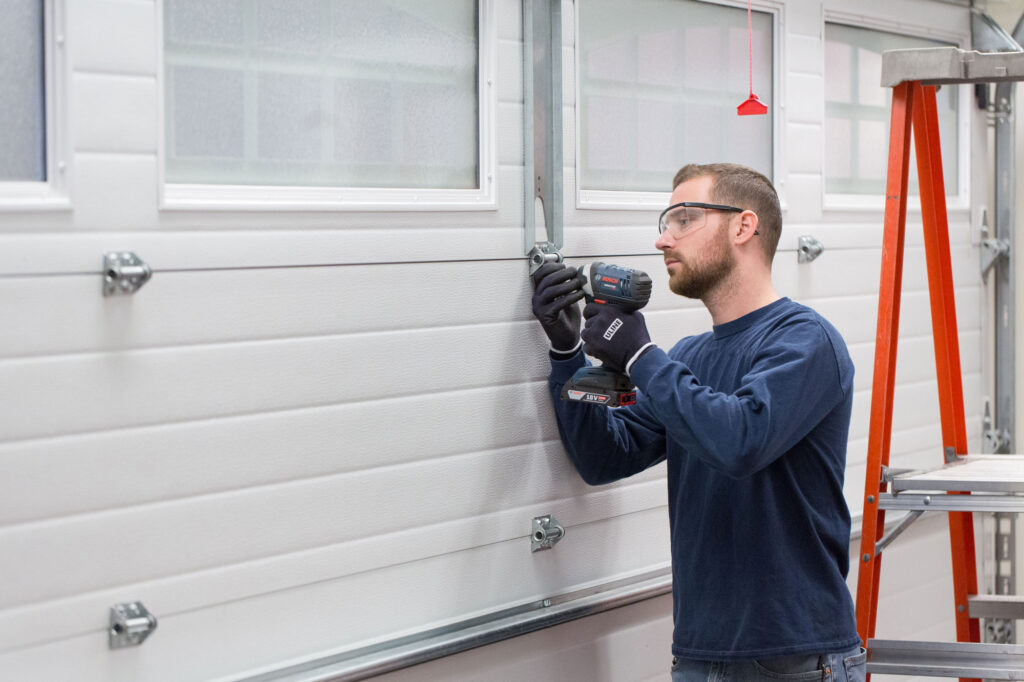
Automatic garage doors are equipped with motors and remote control systems that allow for effortless operation. They can be operated remotely via a wall-mounted switch or a handheld remote.
Factors Affecting Conversion Costs
Several factors influence the cost of converting a manual garage door to an automatic one, including:
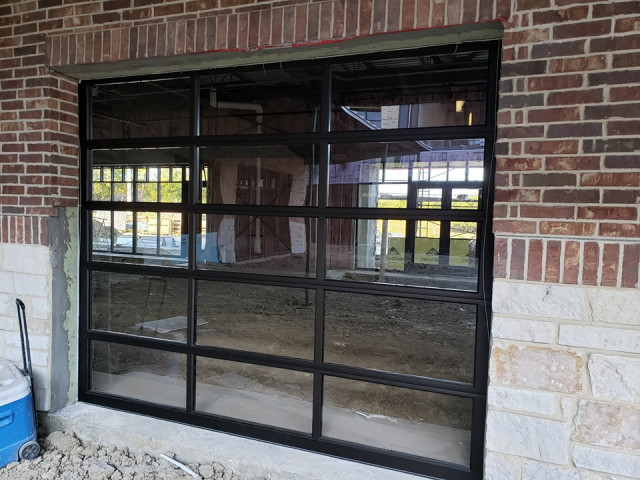
- Type of Garage Door: The type and material of the existing garage door can impact the complexity and cost of the conversion.
- Type of Automation System: There are different types of automation systems available, including chain-drive, belt-drive, and screw-drive systems, each varying in price.
- Additional Features: Additional features such as keyless entry pads, motion sensors, and smartphone connectivity can increase the overall cost of the conversion.
- Labor Costs: Hiring professionals for installation incurs labor costs, which vary depending on the complexity of the project and the contractor’s rates.
Average Cost of Conversion
The cost of converting a manual garage door to an automatic one can vary depending on various factors. On average, homeowners can expect to pay:
- Automation Kit: The cost of a basic automation kit typically ranges from $200 to $500, depending on the brand and features included.
- Installation: Professional installation costs can range from $300 to $800, depending on the complexity of the project and labor rates in your area.
- Additional Features: Adding extra features such as keyless entry pads or smartphone connectivity can increase the total cost by $100 to $300 or more.
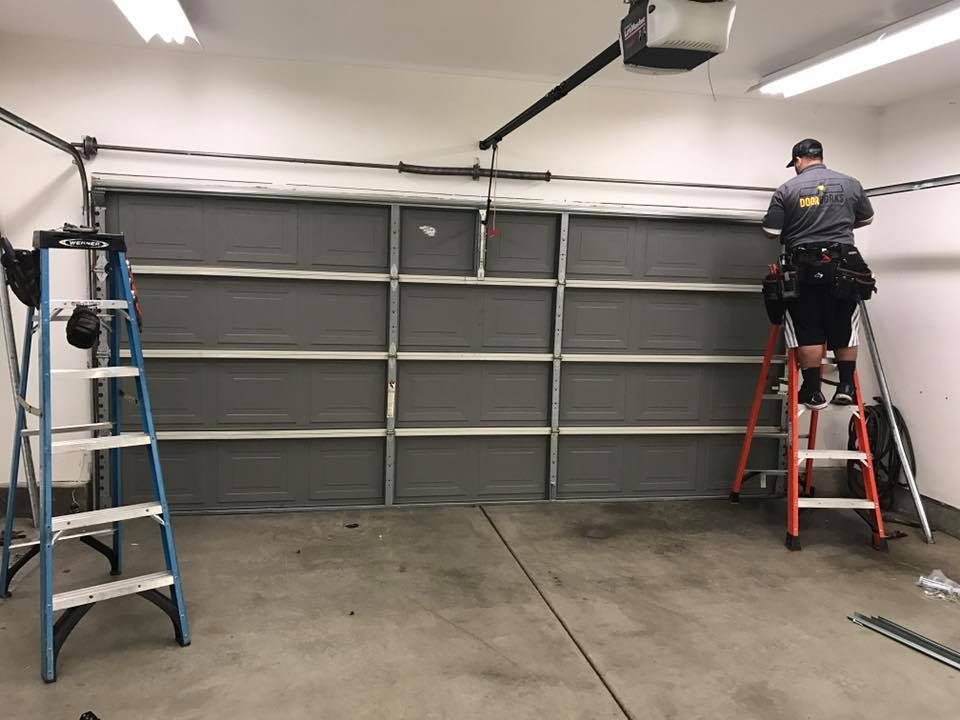
DIY vs. Professional Installation
While some homeowners may consider DIY installation to save money, it’s essential to weigh the pros and cons carefully:
- Pros of DIY Installation: Lower upfront costs, flexibility in scheduling.
- Cons of DIY Installation: Risk of improper installation leading to malfunctions or safety hazards, lack of warranty protection.
Tips for Hiring a Professional
If you opt for professional installation, consider the following tips to ensure a smooth and successful conversion:
- Research Reputable Contractors: Look for licensed and insured garage door installation companies with positive reviews and ratings.
- Obtain Multiple Quotes: Obtain quotes from multiple contractors to compare prices and services offered.
- Inquire About Warranties: Ask about warranties on both the automation kit and installation labor to ensure peace of mind.
Cost-Saving Tips
To minimize the cost of converting a manual garage door to an automatic one, consider the following tips:
- Choose a Basic Automation Kit: Opt for a basic automation kit without unnecessary features to keep costs down.
- Shop Around for Installation Quotes: Compare quotes from different contractors to find the most competitive pricing.
- Consider DIY for Simple Installations: If you’re handy with tools and have experience with home improvement projects, consider tackling the installation yourself to save on labor costs.
Conclusion:
Converting a Garage Door Repair Lees Summit MO one can enhance convenience and security while adding value to your home. By understanding the factors that influence the cost of conversion and following the tips outlined in this guide, you can make informed decisions and enjoy the benefits of an automatic garage door system.
Team Taylor Doors
210 SW Market St Suite 144, Lee’s Summit, MO 64063, United States
1-816-408-6999