How Many Turns On A Garage Door Spring – Circle B Overhead Door

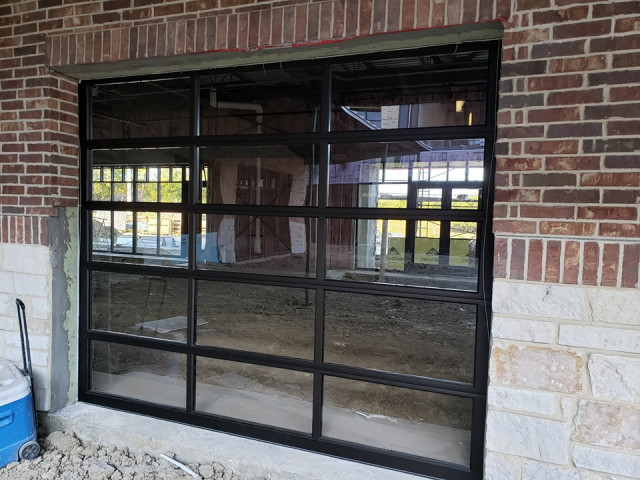
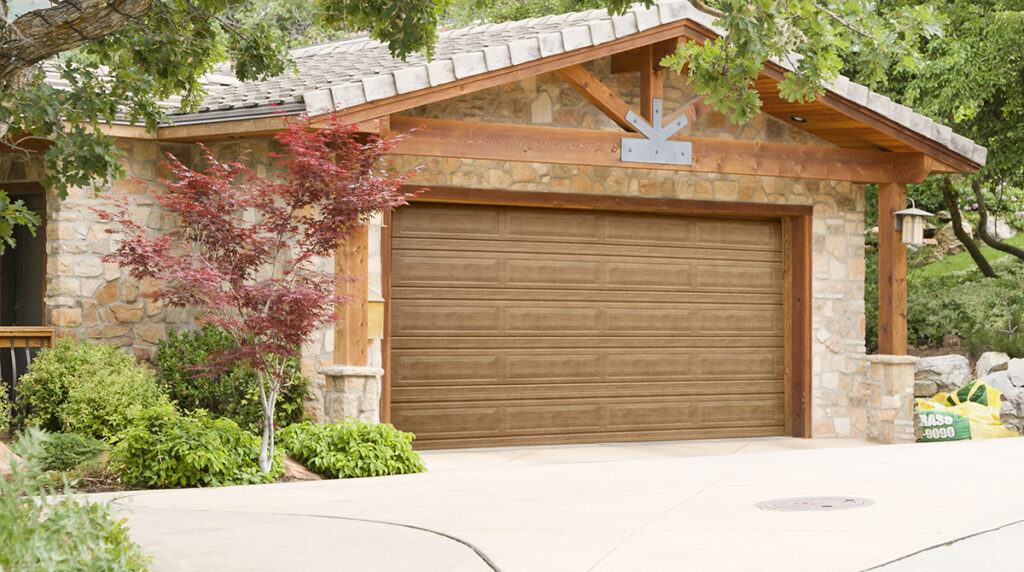
Determining the number of turns required for a Garage Door Repair Bryan TX is a crucial step in ensuring proper balance and smooth operation of the door. However, calculating the exact number of turns can be complex and depends on several factors, including the weight and size of the garage door, the type of spring system used, and the manufacturer’s specifications.

Here’s a detailed explanation of how to determine the number of turns on a garage door spring:

Understanding Garage Door Springs:

Garage doors typically use one of two types of springs: torsion springs or extension springs.

  • Torsion Springs: Torsion springs are mounted above the garage door and work by twisting to store energy. They are typically installed in pairs and are wound tightly to counterbalance the weight of the door.
  • Extension Springs: Extension springs are mounted on either side of the door and stretch as the door opens. They work by extending and contracting to provide lifting force to the door.

Factors Affecting the Number of Turns:

Several factors influence the number of turns required for a garage door spring:

  1. Door Weight: The weight of the garage door is a primary factor in determining the spring tension. Heavier doors require more tension to lift and balance.
  2. Spring Size: The size and diameter of the spring also affect the amount of tension it can generate.
  3. Spring Length: Longer springs typically require fewer turns to achieve the necessary tension compared to shorter springs.
  4. Manufacturer Recommendations: Many garage door manufacturers provide guidelines or specifications for the number of turns required based on the door’s weight and spring size.
  5. Professional Assessment: In some cases, it may be necessary to consult with a professional garage door technician to determine the appropriate number of turns for your specific door.

Calculating the Number of Turns:

While there are general guidelines for calculating the number of turns based on the door’s weight and spring size, it’s essential to follow manufacturer recommendations for your specific spring system. Here’s a basic overview of how to calculate the number of turns for torsion springs:

  1. Determine the Door Weight: Measure the weight of the garage door using a scale or consult the door manufacturer’s specifications.
  2. Consult Manufacturer Guidelines: Refer to the manufacturer’s guidelines or documentation for the recommended number of turns based on the door’s weight and spring size.
  3. Use a Winding Chart: Some manufacturers provide winding charts that correlate the door’s weight with the number of turns required for the torsion springs. These charts help ensure proper tension and balance.
  4. Professional Assistance: If you’re unsure or inexperienced, it’s best to seek professional assistance from a qualified garage door technician. They can accurately assess your door’s requirements and safely adjust the spring tension.

Importance of Proper Tension:

Proper tensioning of garage door springs is critical for safe and efficient operation. Insufficient tension can result in the door being too heavy to lift, while excessive tension can cause the door to close too quickly or put undue stress on the opener mechanism. It’s essential to follow manufacturer guidelines and exercise caution when adjusting spring tension.

Conclusion:

Determining the number of turns on a Garage Door Repair Bryan TX requires consideration of several factors, including the door’s weight, spring size, and manufacturer recommendations. While there are general guidelines available, it’s crucial to follow specific instructions for your spring system to ensure safe and effective operation. If you’re unsure or inexperienced, seek professional assistance to avoid injury or damage to your garage door. Proper tensioning of garage door springs is essential for maintaining smooth and reliable operation of the door.

Circle B Overhead Door

1818 Drillers Dr, Bryan, TX 77808, United States

1-979-324-6733

How To Replace The Garage Door Bottom Seal – Circle B Overhead Door


 Garage Door Repair Bryan TX Fortunately, replacing the bottom seal is a relatively straightforward process that can be completed with basic tools and materials.

Here’s a step-by-step guide on how to replace the garage door bottom seal:

1. Gather Necessary Materials and Tools:

Before you begin, gather the following materials and tools:

  • New garage door bottom seal (measure the width of your garage door to ensure you purchase the correct size)
  • Utility knife or scissors
  • Pliers or screwdriver
  • Tape measure
  • Soap and water (or mild detergent)
  • Rag or sponge
  • Safety gloves (optional)

2. Prepare the Work Area:

Park your vehicle outside the garage or move it to one side to create ample space for working. Ensure that the garage door is closed and the area around the bottom of the door is clear of obstructions.

3. Remove the Old Bottom Seal:

Start by removing the old bottom seal from the bottom of the garage door. Depending on the type of seal and how it’s attached, you may need to:

  • Cut the seal with a utility knife or scissors if it’s held in place with adhesive.
  • Unscrew the retainer or track holding the seal in place using pliers or a screwdriver.
  • Pull the seal out of the track or retainer, starting from one end and working your way along the bottom of the door.

4. Clean the Bottom of the Door:

Once the old seal is removed, clean the bottom of the garage door to remove any dirt, debris, or adhesive residue. Use soap and water (or a mild detergent) and a rag or sponge to scrub the surface thoroughly. Allow the area to dry completely before proceeding.

5. Measure and Cut the New Bottom Seal:

Measure the width of the bottom of your garage door to determine the length of the new bottom seal needed. Use a tape measure to get an accurate measurement. Transfer this measurement to the new bottom seal and mark it with a pencil or marker.

Using a utility knife or scissors, carefully cut the new bottom seal to the measured length. Double-check the length to ensure it matches the width of your garage door.

6. Install the New Bottom Seal:

With the new bottom seal cut to size, it’s time to install it on the bottom of the garage door. Depending on the type of seal and how it’s designed, you may need to:

  • Insert the seal into the track or retainer along the bottom of the door, starting from one end and working your way along.
  • Press the seal firmly into place to ensure a snug fit. If necessary, use a rubber mallet or hammer to tap the seal into the track or retainer.

7. Secure the New Bottom Seal:

Once the new bottom seal is installed, secure it in place to prevent it from coming loose or shifting. If the seal is held in place with a retainer or track, reattach or screw it back into position using pliers or a screwdriver.

8. Test the Garage Door:

After installing the new bottom seal, test the operation of the garage door to ensure it opens and closes smoothly without any obstructions. Open and close the door several times to verify that the seal remains in place and effectively seals the bottom of the door.

9. Make Adjustments if Necessary:

If the new bottom seal doesn’t fit properly or doesn’t provide an adequate seal, you may need to make adjustments. Check for any gaps or areas where the seal isn’t making contact with the ground. Trim the seal or adjust its position as needed to achieve a tight seal along the bottom of the door.

10. Maintain the Bottom Seal:

Regularly inspect and maintain the bottom seal of your garage door to ensure its effectiveness and longevity. Clean the seal periodically to remove dirt, debris, and buildup that may affect its performance. Replace the seal as needed if it becomes worn out, damaged, or ineffective at sealing the bottom of the door.

 Garage Door Repair Bryan TX With proper installation and maintenance, the new bottom seal will help keep your garage clean, dry, and secure for years to come.

Circle B Overhead Door

1818 Drillers Dr, Bryan, TX 77808, United States

1-979-324-6733

How To Program Highlander Garage Door Opener – Circle B Overhead Door

Garage Door Repair Bryan TX for a Toyota Highlander involves a straightforward process, typically requiring you to follow a series of steps.

While the specifics may vary slightly depending on the model year of your Highlander and the type of garage door opener you have, I can provide you with a general guide covering the essential steps:

1. Gather Required Materials:

  • Toyota Highlander owner’s manual
  • Garage door opener remote control
  • Step ladder (if needed)

2. Read the Owner’s Manual:

  • Familiarize yourself with the section in your Toyota Highlander owner’s manual that covers programming garage door opener remotes. This manual will provide specific instructions tailored to your vehicle model and year.

3. Prepare Your Garage Door Opener:

  • Before you begin programming, make sure your garage door opener is compatible with the Highlander’s remote control system. Most modern garage door openers are compatible, but it’s essential to check the compatibility information in your owner’s manual.

4. Locate the “Learn” Button on the Garage Door Opener:

  • Most garage door openers have a “Learn” button, which is typically located on the motor unit of the opener. Pressing this button puts the opener into programming mode.

5. Access the Programming Mode on the Opener:

  • Follow the instructions provided in your Toyota Highlander owner’s manual to access the programming mode for the garage door opener. This often involves pressing and holding a specific button on the vehicle’s interior.

6. Program the Remote:

  • Once your Highlander is in programming mode, press and hold the button on the garage door opener remote that you want to program. Hold the button until you see a light or hear a beep from the garage door opener, indicating that it has learned the remote’s code.

7. Test the Remote:

  • After programming the remote, test it to ensure it works properly. Stand outside the garage door and press the button on the remote. The garage door should open or close depending on the button you pressed.

8. Repeat for Additional Remotes (if needed):

  • If you have multiple remotes to program, repeat the above steps for each remote. Each remote can be programmed in the same way.

9. Exit Programming Mode on the Opener:

  • After programming all the remotes, follow the instructions in your owner’s manual to exit programming mode on the garage door opener.

10. Secure Remotes and Documentation:

  • Once programming is complete, ensure the remotes are securely stored in your vehicle, and that programming instructions are documented for future reference.

11. Troubleshooting:

  • If you encounter any issues during the programming process, refer to the troubleshooting section of your Toyota Highlander owner’s manual. Common issues include interference from other electronic devices or incorrect programming sequences.

Garage Door Repair Bryan TX and enjoy convenient access to your garage. Remember to always consult the specific instructions provided in your owner’s manual for your particular vehicle model and year. If you’re unsure about any step, consult a professional for assistance.

Circle B Overhead Door

1818 Drillers Dr, Bryan, TX 77808, United States

1-979-324-6733

How Much Does It Cost To Repair A Garage Door – Circle B Overhead Door

The cost of repairing a Garage Door Repair Bryan TX can vary widely depending on the type and extent of the damage, the specific components that need repair or replacement, and your location.

In this comprehensive guide, I’ll break down the factors that influence the cost of garage door repairs and provide insights on what you can expect when seeking professional assistance.

1. Type of Garage Door: The type of garage door you have significantly influences repair costs. Common types include:

  • Sectional Garage Door: These doors consist of panels that can be replaced individually if damaged.
  • Roll-Up Garage Door: Typically made of metal slats, repairs may involve fixing or replacing damaged slats.
  • Single Panel Garage Door: Older garage doors may have a single panel that requires replacement if damaged.

2. Type of Damage: The nature and extent of the damage directly impact repair costs. Common garage door issues include:

  • Broken Springs: Replacement of garage door springs is a common repair. Torsion spring replacement tends to cost more than extension spring replacement.
  • Damaged Panels: If one or more panels are damaged, the cost may vary based on the type of panel and whether it can be replaced individually.
  • Track Alignment: Repairing track misalignment involves adjusting or replacing the tracks, impacting the overall cost.
  • Opener Issues: Repairing or replacing the garage door opener can contribute to costs. Common issues include faulty sensors, gears, or circuit boards.

3. Material of the Garage Door: The material of your garage door affects repair costs. Common garage door materials include:

  • Steel: Durable but may dent and rust.
  • Wood: Adds aesthetic appeal but may require more maintenance.
  • Aluminum: Lightweight and resistant to rust.
  • Fiberglass: Resistant to moisture and insects.

Repairing or replacing panels made from different materials may have varying costs.

4. Professional Labor Costs: Hiring a professional garage door repair service incurs labor costs. The hourly rates of technicians vary based on location and company. Some companies charge a service call fee for the initial assessment.

5. Replacement Parts Costs: The cost of replacement parts, such as springs, cables, rollers, tracks, and panels, contributes significantly to the overall repair cost. High-quality, durable parts may cost more upfront but can result in long-term savings.

6. Emergency Repairs: Emergency repairs, especially outside regular business hours, may incur additional fees. Some companies offer emergency services for urgent repairs.

7. Geographic Location: The cost of garage door repairs can vary by location due to differences in labor rates, local demand for services, and the availability of skilled technicians.

8. DIY vs. Professional Repairs: While some minor repairs can be tackled as do-it-yourself (DIY) projects, it’s crucial to consider safety and the complexity of the repair. DIY repairs may save on labor costs but could result in additional expenses if mistakes are made.

9. Preventive Maintenance: Regular maintenance and preventive measures can help avoid extensive repairs. Investing in maintenance services can prolong the lifespan of your garage door and reduce the likelihood of major issues.

10. Warranty and Guarantees: Some repair services may offer warranties or guarantees on their work and parts. Factor in the peace of mind provided by such assurances when evaluating costs.

Conclusion:

The cost to Garage Door Repair Bryan TX can range from a few hundred to several thousand dollars, depending on the factors mentioned above. To obtain an accurate estimate, it’s advisable to contact local garage door repair professionals for assessments and quotes. Prioritize safety, quality of work, and long-term reliability when making decisions about garage door repairs.

Circle B Overhead Door

1818 Drillers Dr, Bryan, TX 77808, United States

1-979-324-6733

How Do I Program A Clicker Garage Door Keypad – Circle B Overhead Door


Programming a Clicker Garage Door Repair Bryan TX is a straightforward process that allows you to securely control your garage door opener without the need for a remote control.

Whether you are setting up a new keypad or reprogramming an existing one, the basic steps remain consistent. In this comprehensive guide, I’ll provide detailed instructions on how to program a Clicker garage door keypad, ensuring a successful setup.

1. Identify the Keypad Model: Before you start the programming process, identify the model of your Clicker garage door keypad. The model number is usually located on the back of the keypad.

2. Clear Existing Codes (If Needed): If you are reprogramming the keypad or setting it up for the first time, it’s a good idea to clear any existing codes. Refer to the keypad’s manual for specific instructions on how to perform a code-clearing procedure.

3. Locate the “Learn” Button on the Opener: To program the Clicker keypad, you’ll need to find the “Learn” button on your garage door opener unit. The “Learn” button is usually located on the back or side of the opener motor housing. The color of the button can vary, commonly being red, purple, or yellow.

4. Enter the PIN for Programming Mode: Press and hold the “Program” or “Learn” button on the keypad until the LED light on the keypad starts flashing, indicating that it’s in programming mode.

5. Enter the PIN Code: Enter the PIN code you want to use for operating the garage door. The keypad may have a default code, or you can choose your own. The LED light on the keypad should flash again to confirm that the code has been accepted.

6. Press the “Learn” Button on the Opener: Press the “Learn” button on the garage door opener unit. The indicator light on the opener should light up, indicating that it is ready to learn a new code.

7. Enter the PIN Again: Enter the same PIN code you programmed earlier on the keypad and then press the “Enter” or “Send” button. The garage door opener should acknowledge the new code by activating or flashing its indicator light.

8. Test the Keypad: Test the keypad by entering the programmed PIN code and pressing the “Enter” or “Send” button. The garage door should respond by opening or closing, depending on its current state.

9. Repeat for Additional Keypads (If Applicable): If you have multiple Clicker keypads or want to set up additional ones, repeat the programming process for each keypad. The same PIN code can typically be used for multiple keypads.

10. Secure the Keypad: Once all keypads are programmed and tested successfully, securely close the cover on each keypad to protect it from the elements.

11. Change the PIN Code (Optional): If desired, you can change the PIN code at any time. Follow the keypad’s manual for instructions on how to change the PIN.

Additional Tips:

  • Keep the keypad’s manual handy, as it provides specific instructions for your model.
  • If you are programming the keypad for a new garage door opener, ensure that the opener’s safety features, such as sensors, are functioning correctly.

Conclusion:

Programming a Clicker Garage Door Repair Bryan TX is a user-friendly process that provides convenient and secure access to your garage. By following these specific steps tailored to your keypad model, you can enjoy the benefits of keyless entry. Regularly check the battery in your keypad, and if you experience any issues, consult the keypad’s manual or contact the manufacturer for assistance.

Circle B Overhead Door

1818 Drillers Dr, Bryan, TX 77808, United States

1-979-324-6733