How Much Does It Cost To Repair A Garage Door – JT’s Overhead Doors

The cost to repair a Garage Door Repair Mesa AZ can vary significantly depending on the type and extent of the damage, the necessary repairs, and the factors specific to your situation. In this comprehensive guide, I’ll discuss the various factors that influence the cost of repairing a garage door and provide an overview of the typical price ranges for common repair services.

Factors Influencing Garage Door Repair Costs:

  1. Type of Repair:
    • The type of repair needed is a significant factor in determining the cost. Common garage door repairs include spring replacement, track realignment, panel replacement, cable repair, roller replacement, sensor adjustment, and opener repair.
    • Complex repairs requiring specialized parts, equipment, or expertise may incur higher costs compared to minor repairs.
  2. Extent of Damage:
    • The extent of damage to the garage door components directly impacts the repair cost. Minor issues such as loose hardware or minor dents may be relatively inexpensive to fix, while extensive damage or structural issues may require more extensive repairs or even replacement of components.
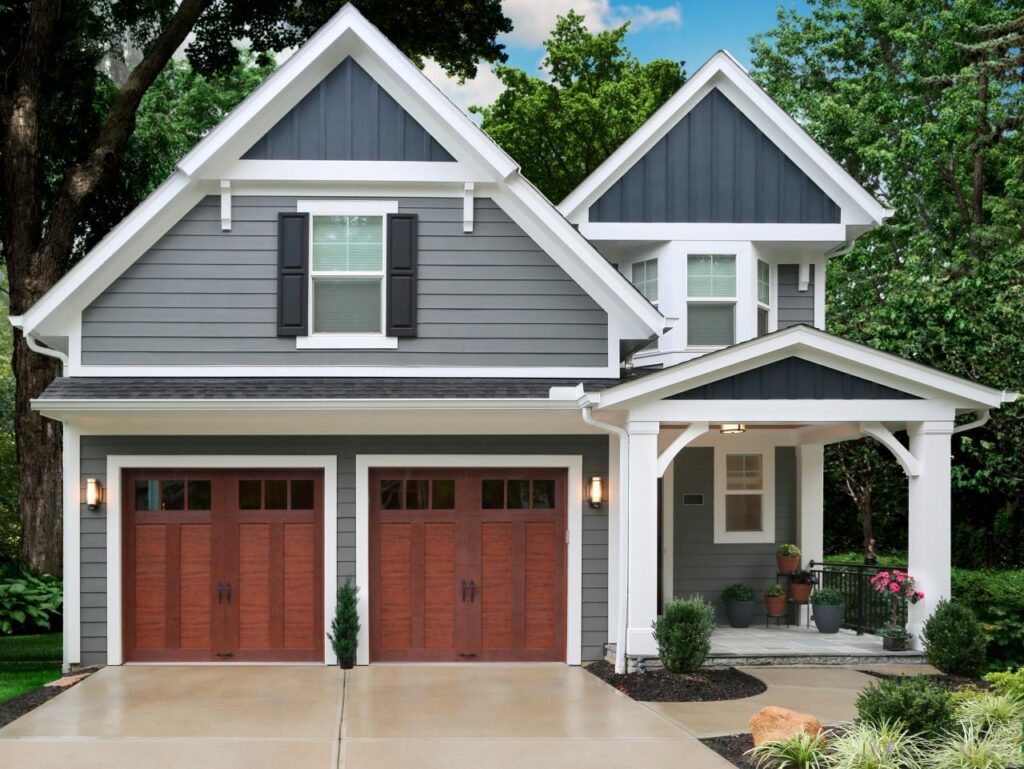
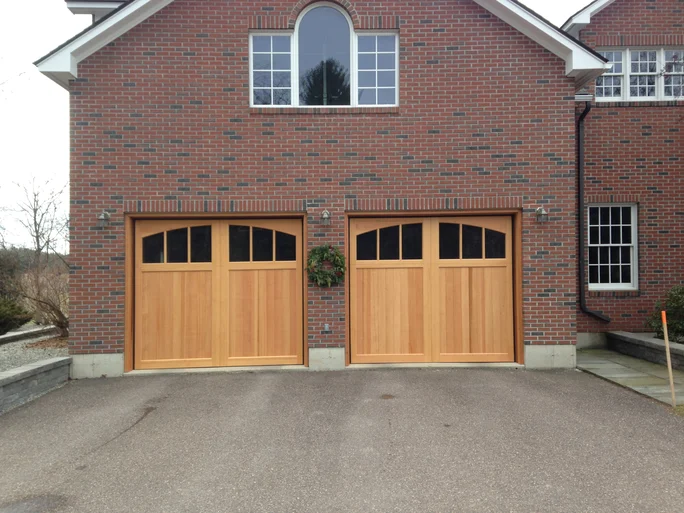
  3. Type of Garage Door:
    • The material, design, and construction of the garage door can affect repair costs. Wooden doors, for example, may require more labor-intensive repairs compared to steel or aluminum doors.
    • Custom or specialty doors with unique features or designs may require specialized repair techniques or replacement parts, resulting in higher repair costs.
  4. Age and Condition:
    • The age and condition of the garage door and its components can influence repair costs. Older doors or those with pre-existing damage may require more frequent repairs or replacement of worn-out parts, which can add to the overall cost.
    • Regular maintenance and timely repairs can help prevent costly issues and prolong the lifespan of the garage door system.
  5. Location:
    • Geographic location can also impact garage door repair costs. Repair services may be more expensive in urban areas with higher labor rates or where specialized expertise is in high demand.
    • Additionally, accessibility issues, such as remote or rural locations, may result in higher service charges for travel time and transportation of equipment.

Typical Price Ranges for Garage Door Repairs:

  1. Spring Replacement:
    • The cost to replace garage door springs typically ranges from $150 to $350 per spring, depending on the type of spring (torsion or extension), size, and complexity of the installation.
    • Spring replacement is one of the most common and critical repairs for garage doors, as worn or broken springs can affect the door’s balance and functionality.
  2. Track Realignment:
    • The cost to realign garage door tracks varies depending on the extent of misalignment and the time required for adjustment. Prices typically range from $75 to $200, excluding any additional parts or repairs needed.
  3. Panel Replacement:
    • The cost to replace a damaged garage door panel depends on the size, material, and design of the panel. Prices typically range from $200 to $600 per panel, including labor and materials.
    • Panel replacement is often necessary for repairing dents, cracks, or other cosmetic damage to the door.
  4. Cable Repair:
    • The cost to repair garage door cables ranges from $100 to $200 per cable, including labor and materials. Cable repair is essential for ensuring smooth and safe operation of the door, as damaged cables can cause the door to become unbalanced or jammed.
  5. Opener Repair:
    • The cost to repair a garage door opener depends on the type of repair needed and the complexity of the opener system. Prices typically range from $100 to $300 for common repairs such as motor replacement, gear or belt replacement, or circuit board repair.

Conclusion:

The cost to repair a Garage Door Repair Mesa AZ can vary based on factors such as the type of repair, extent of damage, type of garage door, age and condition, and geographic location. It’s essential to address repair issues promptly to prevent further damage and ensure the safety and functionality of the garage door system. By understanding the factors that influence repair costs and obtaining estimates from reputable garage door repair companies, homeowners can make informed decisions and budget accordingly for necessary repairs. Regular maintenance and timely repairs can help extend the lifespan of the garage door system and prevent costly issues down the line. If you’re unsure about the cost of a specific repair or need assistance with diagnosing and fixing garage door issues, consider consulting with a qualified garage door technician or repair professional for expert advice and service.

JT’s Overhead Doors

307 N Sandal, Mesa, AZ 85205, United States

1-480-662-3315

How To Change Code On Clicker Garage Door Opener – JT’s Overhead Doors

Changing the code on your Garage Door Repair Mesa AZ is a simple yet important step in ensuring the security of your home.

By regularly updating your garage door opener’s access code, you can prevent unauthorized access and keep your belongings safe. In this comprehensive guide, we’ll walk you through the step-by-step process of changing the code on your Clicker garage door opener.

: Identify Your Clicker Model

Before you begin, it’s essential to identify the model of your Clicker garage door opener. Different models may have slightly different procedures for changing the code, so it’s crucial to consult the owner’s manual or manufacturer’s website for specific instructions tailored to your model.

: Locate the “Learn” Button on Your Opener

Next, locate the “Learn” button on your Clicker garage door opener. The Learn button is typically located on the back or side of the motor unit and may be labeled as “Learn” or “Program.” Press and release the Learn button to put your garage door opener into programming mode.

: Choose a New Code

With the garage door opener in programming mode, it’s time to choose a new code for your Clicker garage door opener. Select a code that is easy for you to remember but difficult for others to guess. Avoid using common combinations such as “1234” or your birthdate, as these are easily compromised. Instead, opt for a unique combination of numbers that you can easily recall.

: Program the New Code into Your Opener

Now that you’ve chosen a new code, it’s time to program it into your Clicker garage door opener. The programming process may vary depending on the model of your opener, so refer to the owner’s manual or manufacturer’s website for specific instructions. In general, you’ll need to press a combination of buttons on the opener in a specific sequence to enter the new code.

: Test the New Code

Once you’ve programmed the new code into your Clicker garage door opener, it’s essential to test it to ensure that it’s working correctly. Stand within range of your garage door opener and enter the new code using the keypad or remote control. If the door responds as expected, congratulations! You’ve successfully changed the code on your Clicker garage door opener.

: Update Additional Devices

If you have additional remotes or keypads that are programmed to your garage door opener, you’ll need to update them with the new code as well. Follow the same process outlined above to program the new code into each remote or keypad, ensuring that all devices are synchronized with the updated code.

: Securely Store Your Remote and Keypad

Finally, once you’ve changed the code on your Clicker garage door opener, be sure to securely store your remote controls and keypads. Avoid leaving them in your car where they could be stolen or accessed by unauthorized individuals. Instead, keep them in a secure location inside your home where only you can access them when needed.

Conclusion:

In conclusion, changing the code on your Garage Door Repair Mesa AZ is a simple yet effective way to enhance the security of your home and protect your belongings. By following the step-by-step process outlined in this guide, you can update the code on your garage door opener quickly and easily, giving you peace of mind knowing that your home is secure. Remember to choose a unique code, program it into your opener, and test it to ensure proper functionality. With a few simple steps, you can enjoy added security and convenience with your Clicker garage door opener.

JT’s Overhead Doors

307 N Sandal, Mesa, AZ 85205, United States

1-480-662-3315

Garage Door Opener Capacitor Replacement – JT’s Overhead Doors

As a homeowner who recently encountered the challenge of a malfunctioning garage door opener, specifically a failing capacitor, I delved into the world of capacitor replacement.

By following Garage Door Repair, I share my firsthand experience and insights on the importance of the capacitor in the garage door opener system, the signs that indicate it needs replacement, and a step-by-step guide on how to replace it. If you’ve ever found yourself wondering about the mysterious capacitor and its role in your garage door’s functionality, join me on this journey of empowerment through DIY capacitor replacement.

Introduction: The Hidden Hero in Your Garage

The garage door opener, a silent hero in the daily routine of a homeowner, relies on a variety of components to ensure smooth and reliable operation. Among these, the capacitor stands as a lesser-known yet crucial player. As a homeowner who recently faced the challenge of a malfunctioning garage door opener due to a failing capacitor, I discovered the pivotal role this small but mighty component plays. This guide aims to demystify the capacitor, shed light on the signs of its failure, and empower homeowners to tackle garage door opener capacitor replacement with confidence.

1. Understanding the Role of the Capacitor: The Power Player

Insights:

The capacitor in a garage door opener serves as a temporary energy storage device. It plays a vital role in providing the initial jolt of power needed to start the motor and set the door in motion.

Practical Tips:

Highlight the capacitor’s role in storing electrical energy and releasing it in a controlled manner to kickstart the motor. Emphasize its significance in ensuring a smooth and efficient operation of the garage door opener.

2. Signs of a Failing Capacitor: The Warning Whispers

Insights:

A failing capacitor exhibits specific signs that, if detected early, can prevent a complete breakdown of the garage door opener. These signs include slow operation, intermittent starting, or the motor struggling to lift the door.

Practical Tips:

Educate homeowners on the subtle warnings a failing capacitor may provide. A keen observation of changes in the garage door’s performance, such as unusual noises or delays in operation, can be indicative of capacitor issues.

3. Tools and Materials Needed: The DIY Arsenal

Insights:

Replacing a garage door opener capacitor is a DIY-friendly task, and having the right tools and materials on hand is essential. Basic tools such as screwdrivers, pliers, and a multimeter are commonly used.

Practical Tips:

Provide a comprehensive list of tools and materials required for the replacement process. This includes the replacement capacitor, which should match the specifications of the original capacitor. Ensuring compatibility is crucial for a successful replacement.

4. Safety First: The Power-Down Protocol

Insights:

Before delving into the replacement process, ensuring safety is paramount. Disconnecting the power supply to the garage door opener prevents accidental electrical shocks during the replacement.

Practical Tips:

Instruct homeowners to locate the power source of the garage door opener and disconnect it. This may involve turning off the circuit breaker or unplugging the opener. Safety goggles and gloves are also recommended to protect against any accidental contact.

5. Locating the Capacitor: The Treasure Hunt

Insights:

The capacitor is typically located within the housing of the garage door opener. Identifying its position and gaining access to it is the initial step in the replacement process.

Practical Tips:

Guide homeowners on locating the capacitor within the garage door opener unit. This may involve removing the cover or housing, which is commonly secured with screws. Caution against damaging other components during this process.

6. Capacitor Removal: The Delicate Extraction

Insights:

Once the capacitor is located, careful removal is essential. Disconnecting the wires and ensuring proper identification of terminals are key steps in this phase.

Practical Tips:

Provide a step-by-step guide on disconnecting the wires from the capacitor. Take note of the placement and color-coding of wires to ensure accurate reconnection later. Caution against mishandling the capacitor, as it may still hold residual charge.

7. Installing the New Capacitor: The Power Swap

Insights:

Installing the replacement capacitor involves reconnecting the wires to the corresponding terminals. Ensuring a snug fit and secure connections is crucial for the capacitor to function optimally.

Practical Tips:

Walk homeowners through the process of attaching the wires to the new capacitor. Emphasize the importance of following the markings or color-coding on the capacitor for correct placement. Secure the capacitor in its designated location within the housing.

8. Powering Up and Testing: The Moment of Truth

Insights:

After the new capacitor is in place, restoring power to the garage door opener and testing its operation ensures a successful replacement. This step verifies that the capacitor is functioning as intended.

Practical Tips:

Guide homeowners on reconnecting the power supply to the garage door opener. Encourage them to test the door’s operation by opening and closing it several times. This step ensures that the new capacitor is providing the necessary power for smooth functionality.

Conclusion: Empowering Homeowners

According to Garage Door Repair, replacing a garage door opener capacitor might seem like a daunting task, but with the right knowledge and guidance, homeowners can tackle it confidently. As a homeowner who navigated the process successfully, I can attest to the sense of empowerment gained through understanding and performing this DIY task. By demystifying the capacitor’s role, recognizing signs of failure, gathering the necessary tools, ensuring safety, locating and removing the old capacitor, installing the new one, and testing the garage door’s operation, homeowners can take charge of their garage door opener’s well-being.

In the landscape of 2023, where homeowners seek not only convenience but also the ability to address common issues independently, this guide serves as a companion for those venturing into the realm of garage door opener capacitor replacement. After all, in the world of DIY home maintenance, knowledge is power, and replacing a capacitor becomes a testament to that empowerment.

JT’s Overhead Doors

307 N Sandal, Mesa, AZ 85205, United States

480-662-3315

How To Reset Garage Door Keypad Without Code – JT’s Overhead Doors

Resetting a Garage Door Repair Mesa AZ can be challenging, as these keypads are designed with security in mind.

However, there are a few general steps you can try to reset the keypad and regain access. Keep in mind that the success of these steps may vary depending on the brand and model of your garage door opener keypad.

1. Identify the Keypad Model: Start by identifying the make and model of your garage door opener keypad. The model information is often printed on the keypad itself or can be found in the user manual. Knowing the model is crucial for accessing accurate instructions for resetting.

2. Locate the Reset Button: Some garage door opener keypads have a reset button that allows you to clear all existing codes and start fresh. The reset button is usually located on the back of the keypad or inside the battery compartment. Consult your user manual or visually inspect the keypad to find the reset button.

3. Remove Power Source (if applicable): Disconnect the power source to the garage door opener or keypad. This may involve unplugging the opener unit or removing the batteries from the keypad. Ensure that the keypad is completely powered down.

4. Wait for a Few Minutes: Allow a few minutes to pass to ensure that any residual power or stored data in the keypad is fully discharged. This step helps initiate a reset of the keypad’s internal memory.

5. Reconnect Power Source: Reconnect the power source to the garage door opener or keypad. Plug in the opener unit or insert fresh batteries into the keypad. Ensure that the keypad is receiving power.

6. Press and Hold the Reset Button (if available): If your keypad has a reset button, press and hold it for a specified duration. Refer to your user manual for the exact timing required for the reset process. Holding the button typically triggers a reset of the keypad, clearing all previous codes.

7. Test the Default Code (if applicable): Some garage door opener keypads come with default manufacturer codes. Check your user manual to see if there is a default code provided by the manufacturer. Enter the default code to test if the keypad has been successfully reset.

8. Consult User Manual for Alternative Reset Methods: If the reset button approach doesn’t work or your keypad doesn’t have a reset button, consult your user manual for alternative reset methods specific to your keypad model. Some keypads may require a combination of button presses to initiate a reset.

9. Contact Manufacturer Support: If all else fails, consider reaching out to the manufacturer’s customer support for guidance. Provide them with the model information and explain that you need assistance in resetting the keypad without the access code. They may have specific instructions or solutions for your situation.

10. Seek Professional Assistance: If you are unable to reset the garage door keypad on your own, consider seeking professional assistance. Garage door professionals have experience with various models and can provide guidance on resetting keypads and troubleshooting issues.

11. Install a New Keypad: As a last resort, if resetting the existing keypad proves impossible, you may need to consider installing a new keypad. Follow the manufacturer’s instructions for installing the new keypad and programming it with a new access code.

Conclusion:

Resetting a Garage Door Repair Mesa AZ can be challenging, and success may depend on the specific features of your keypad. By following these general steps and consulting the user manual for your particular keypad model, you may be able to initiate a reset and regain access. If all else fails, contacting the manufacturer’s support or seeking professional assistance are viable options to resolve the issue.

JT’s Overhead Doors

307 N Sandal, Mesa, AZ 85205, United States

1-480-662-3315