Garage Door Repair Hampton Roads VA are designed to provide smooth and quiet operation, making them ideal for homes with living spaces above or adjacent to the garage.
Unlike chain drive openers, which can be noisy, belt drive openers use a rubber belt to lift and lower the garage door. This makes them a popular choice for homeowners looking for convenience without the noise.
Understanding the Components
Before you begin the installation process, it’s essential to understand the components of the Craftsman belt drive garage door opener:
Motor
The motor is the heart of the garage door opener, providing the power to lift and lower the door. Craftsman motors are known for their durability and reliability, ensuring years of trouble-free operation.
Belt Drive
The belt drive connects the motor to the garage door, allowing for smooth and quiet operation. Craftsman belt drives are made of high-quality materials to ensure longevity and minimal maintenance.
Rail System
The rail system guides the garage door as it opens and closes. Craftsman rail systems are adjustable to fit doors of various sizes, making them suitable for a wide range of applications.
Tools Required for Installation
Before you begin the installation process, gather the following tools:
- Power drill
- Screwdriver set
- Adjustable wrench
- Hammer
- Tape measure
- Level
- Step ladder
Having these tools on hand will make the installation process smoother and more efficient.
Pre-Installation Preparation
Before you start installing the Craftsman belt drive garage door opener, take the following pre-installation steps:
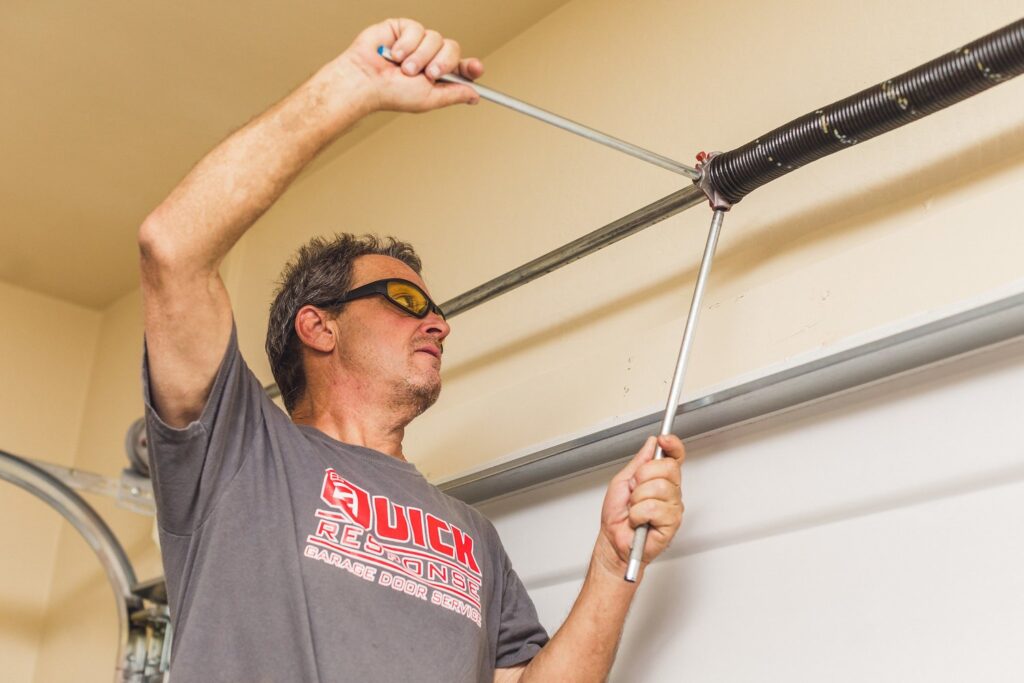
Safety Measures
Safety should always be your top priority when working with garage door openers. Make sure to read the manufacturer’s instructions carefully and follow all safety precautions. Wear protective gear, such as gloves and safety glasses, to prevent accidents.
Clearing Space
Clear the area around the garage door opener to provide ample space for installation. Remove any obstacles or debris that may interfere with the installation process.
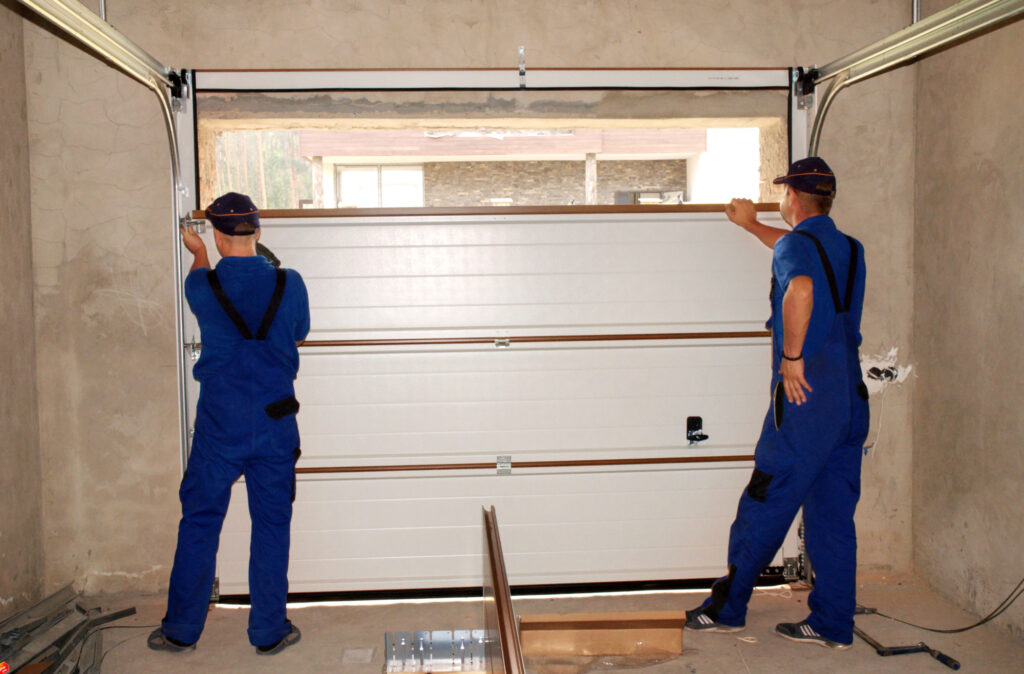
Step-by-Step Installation Process
Now that you’ve completed the pre-installation preparation, it’s time to install the Craftsman belt drive garage door opener. Follow these steps:
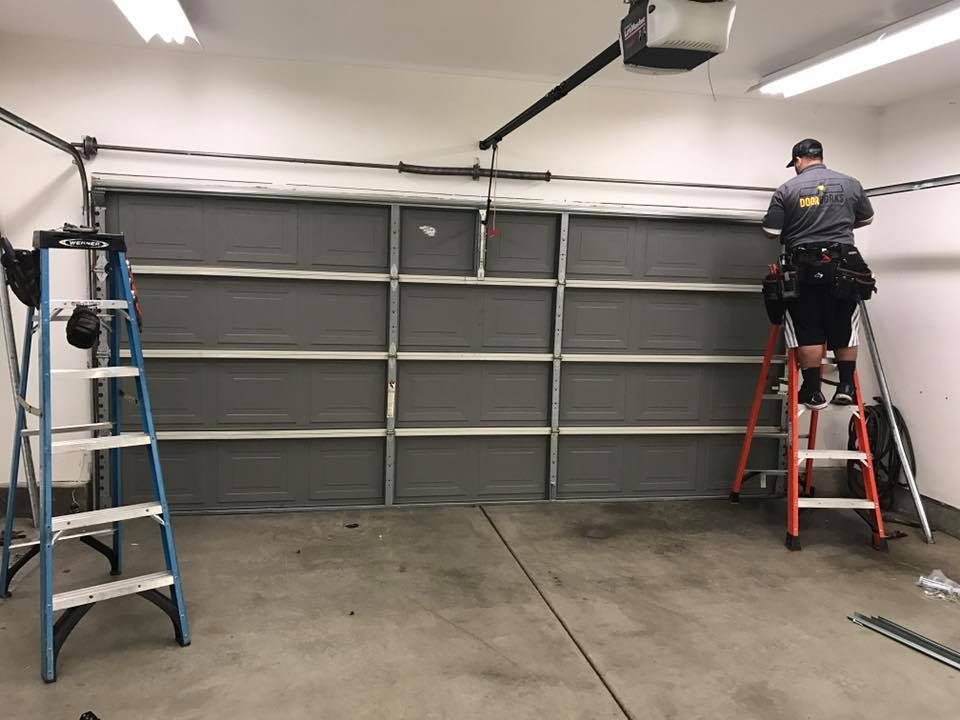
Assembling the Rail System
Start by assembling the rail system according to the manufacturer’s instructions. Use the provided hardware to secure the rail segments together and attach them to the garage ceiling.
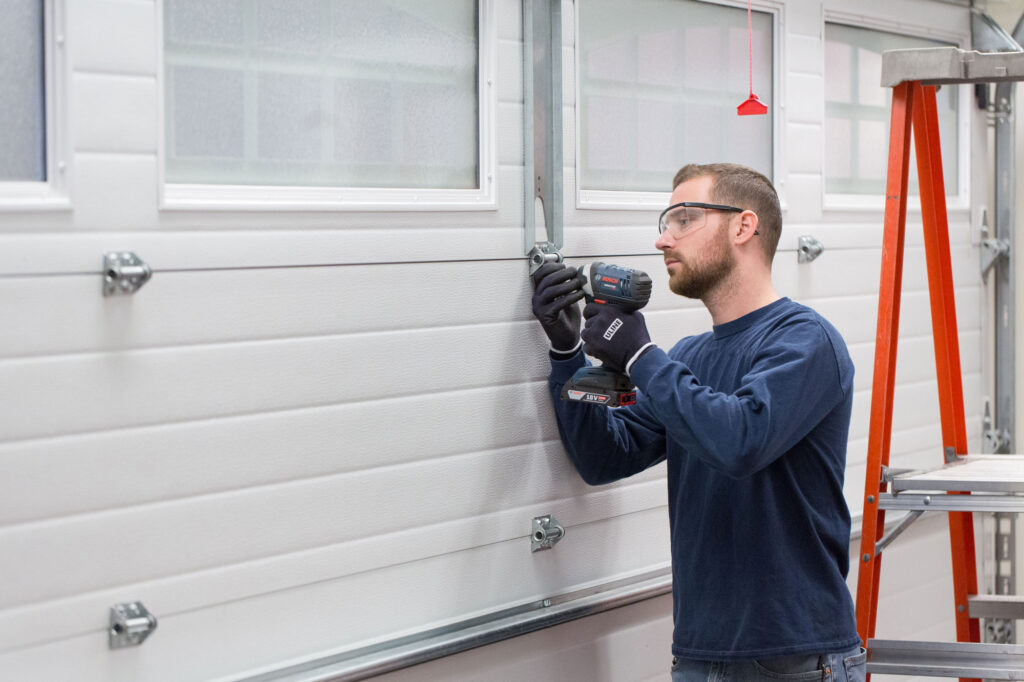
Mounting the Motor
Next, mount the motor to the ceiling of the garage using the provided mounting brackets. Make sure the motor is securely attached and level to ensure smooth operation.
Attaching the Belt Drive
Once the motor is in place, attach the belt drive to the motor and feed it through the rail system. Make sure the belt is properly tensioned and aligned to prevent slippage.
Wiring and Connection
After the motor and belt drive are installed, it’s time to wire the garage door opener. Follow the manufacturer’s instructions carefully to connect the motor to the power source and any additional accessories, such as remote controls or keypads.
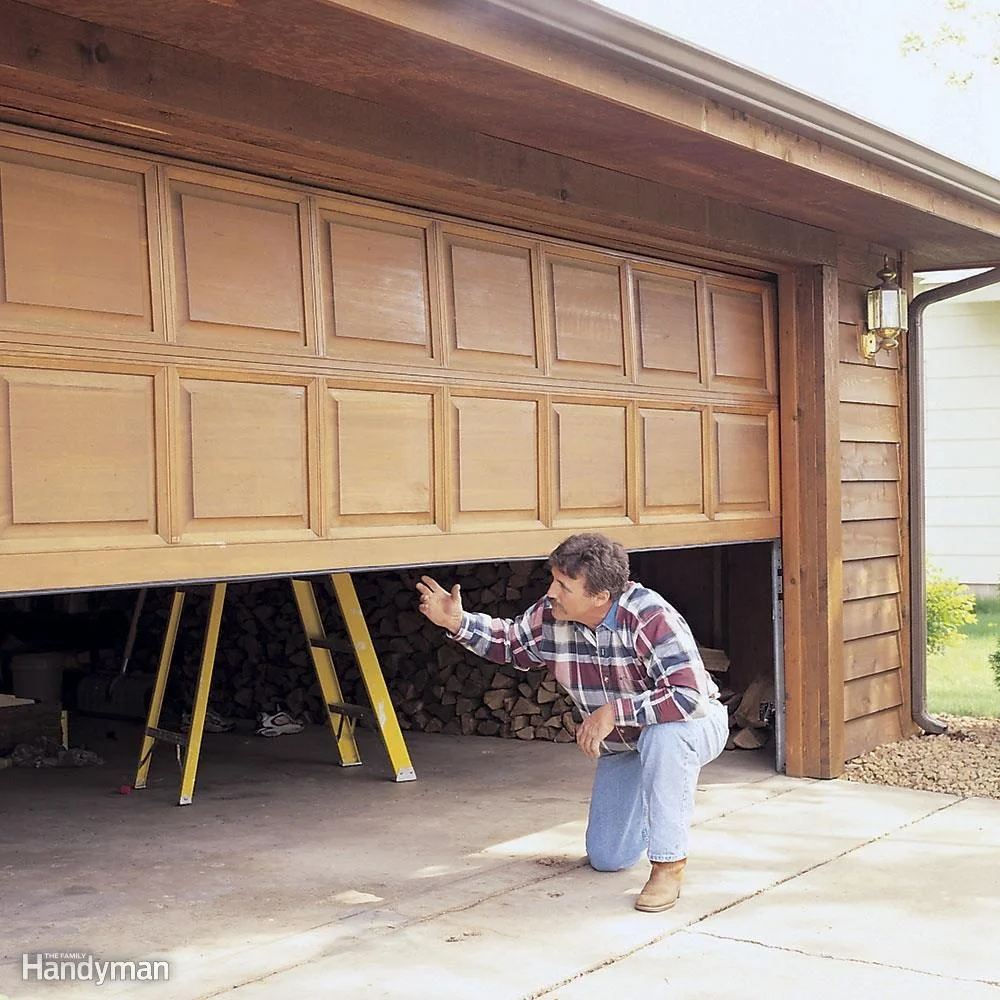
Testing and Adjustment
Once the installation is complete, test the garage door opener to ensure it’s functioning properly. Use the remote control or keypad to open and close the garage door several times, checking for any unusual noises or malfunctions. Make any necessary adjustments to the settings or alignment to ensure smooth operation.
Troubleshooting Common Issues
If you encounter any problems during the installation process, refer to the troubleshooting section of the manufacturer’s instructions. Common issues include misaligned rails, loose hardware, or electrical problems. Follow the provided troubleshooting steps to resolve the issue and ensure proper operation.
Maintenance Tips for Longevity
To keep your Craftsman belt drive garage door opener running smoothly, follow these maintenance tips:
- Regularly inspect the hardware for signs of wear or damage and replace as needed.
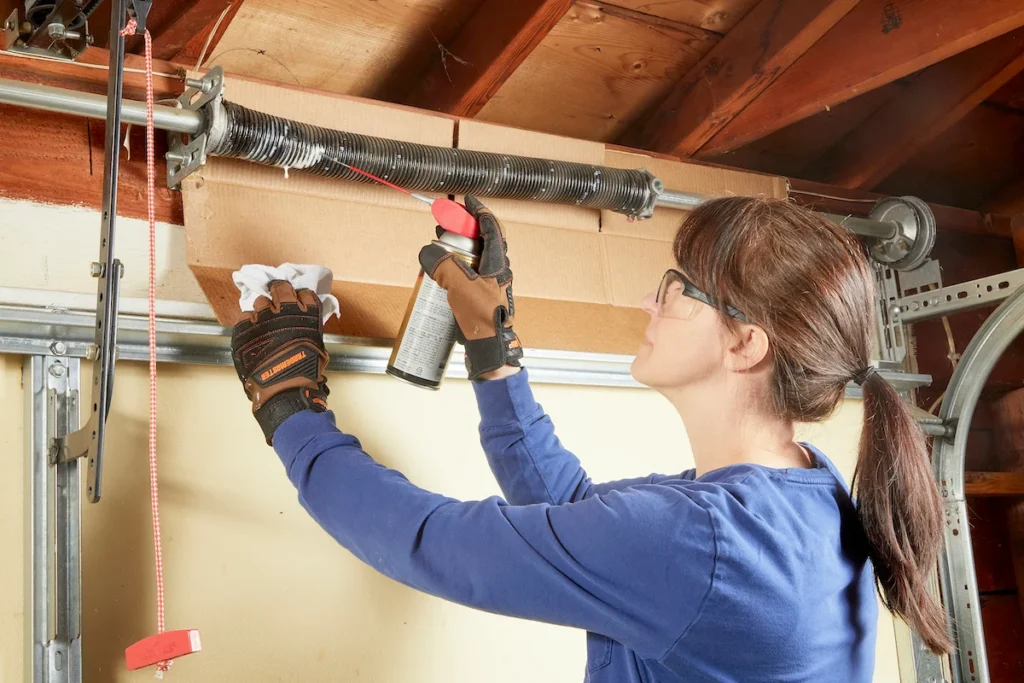
- Keep the rail system clean and lubricated to prevent friction and ensure smooth operation.
- Test the safety features, such as the auto-reverse mechanism, regularly to ensure they’re functioning properly.
- Schedule professional maintenance at least once a year to keep your garage door opener in optimal condition.
Conclusion:
Installing a Craftsman belt drive garage door opener is a straightforward process that can be completed in a few hours with the right tools and preparation. By following the steps outlined in this guide, you can enjoy the convenience and security of a reliable garage door opener for years to come.
Wallen Garage Door Repair and Installation
732 Bluecrab Rd Ste D, Newport News, VA 23606, United States
1-757-256-4543